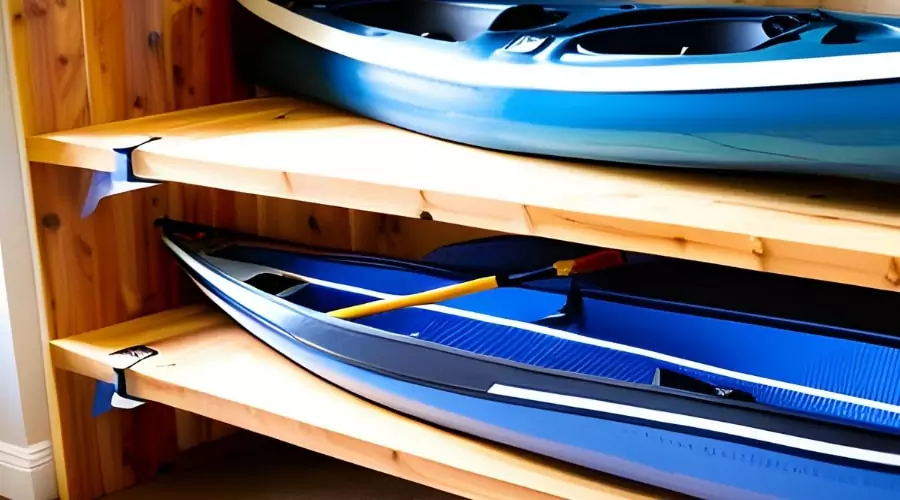
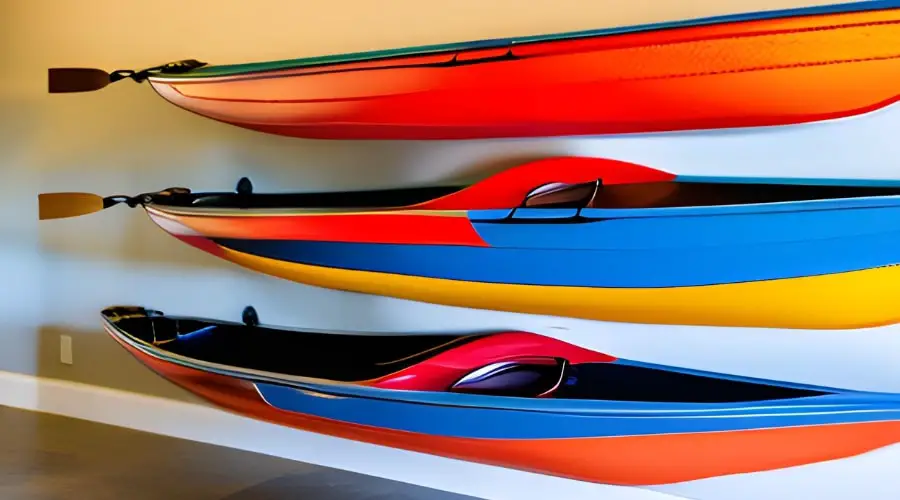
If you’re an avid kayaker, then you know how essential it is to have a safe and convenient storage solution for your precious vessel. Enter the DIY rolling kayak storage rack – a practical and cost-effective way to store your kayak off the ground and make it easy to transport. In this article, we’ll guide you through the process of creating your own rolling kayak storage rack from scratch. So, let’s dive in!

Why a Rolling Kayak Storage Rack?
A rolling kayak storage rack offers numerous advantages over traditional static storage options. Some of these benefits include:
- Mobility: Easily move your kayak around your garage or storage space with the help of casters.
- Space-saving: A vertical storage solution maximizes space and can accommodate multiple kayaks.
- Protection: Keeping your kayak off the ground helps prevent damage and prolongs its lifespan.
- Customizability: Building your own rack allows you to tailor it to your specific needs and preferences.
Choosing the Right Materials
When constructing your rolling kayak storage rack, there are several materials you can choose from:
Wood
Wood is a popular choice due to its affordability, ease of use, and availability. Opt for treated lumber to ensure durability and resistance to moisture.
PVC
PVC is lightweight, easy to work with, and resistant to corrosion. It’s a great option for a low-cost, low-maintenance storage rack.
Metal
Metal, such as steel or aluminum, offers increased strength and durability. While it may be more expensive and challenging to work with, the end result is a heavy-duty, long-lasting rack.
Tools and Equipment Needed
To build your rolling kayak storage rack, you’ll need the following tools and equipment:
- Measuring tape
- Saw (hand saw, jigsaw, or circular saw)
- Drill and drill bits
- Wrench or socket set
- Sandpaper or a power sander
- Protective gear (safety glasses, gloves, and hearing protection)
Step-by-Step Guide to Building a DIY Rolling Kayak Storage Rack
Step 1: Gather Your Materials and Tools
Before you begin, gather all the necessary materials and tools. Make a list and ensure you have everything on hand to avoid delays or setbacks during the building process.
Step 2: Measure and Cut the Materials
Measure and cut your chosen material according to your desired dimensions. Keep in mind the size of your kayak(s) and the available storage space.
Step 3: Assemble the Frame
Assemble the frame using screws, bolts, or other appropriate fasteners. Make sure the joints are secure and stable.
Step 4: Attach the Casters
Attach heavy-duty casters to the bottom of the rack to ensure smooth movement and maneuverability. Choose casters with brakes for added safety and stability when the rack is stationary.
Step 5: Add Padding and Straps
Add foam padding or pool noodles to the support bars to protect your kayak from scratches and dents. Secure the padding with zip ties or adhesive. Attach straps or bungee cords to the rack to hold the kayak securely in place during storage and transport.
Safety Tips and Precautions
While building and using your rolling kayak storage rack, keep the following safety tips in mind:
- Always wear appropriate protective gear when working with tools and materials.
- Use the proper tools and techniques for cutting and drilling.
- Ensure the rack is stable and secure before placing your kayak on it.
- Use the brakes on the casters to keep the rack stationary when not in use.
- Regularly inspect the rack for any signs of damage or wear and address any issues promptly.
Customizing Your Rolling Kayak Storage Rack
One of the advantages of building your own storage rack is the ability to customize it to suit your needs. Here are some ideas for personalizing your rolling kayak storage rack:
- Add hooks or shelves for storing paddles, life vests, and other gear.
- Paint or stain the rack to match your garage or storage space’s decor.
- Adjust the height or width of the rack to accommodate different kayak sizes.
- Incorporate additional storage options for multiple kayaks or other watercraft.

Maintaining Your DIY Rolling Kayak Storage Rack
To keep your storage rack in top condition, follow these maintenance tips:
- Regularly check the fasteners and tighten them as needed.
- Inspect the casters for wear and replace them if necessary.
- Clean the rack periodically to remove dirt and debris.
- If using a wooden rack, reapply a protective sealant or paint as needed to protect the wood from moisture and damage.
Frequently Asked Questions:
How much weight can a DIY rolling kayak storage rack hold?
The weight capacity of your storage rack will depend on the materials used and the construction. Ensure that the rack is built sturdily and can support the weight of your kayak(s).
Can I store multiple kayaks on one rolling storage rack?
Yes, you can design your rack to accommodate multiple kayaks. Adjust the height and width of the rack to create additional storage space for each kayak.
How do I secure my kayak to the storage rack?
Use straps or bungee cords to hold the kayak securely in place on the rack. Ensure the straps are tight enough to prevent the kayak from moving but not so tight that they cause damage.
How can I protect my kayak from scratches and dents while on the storage rack?
Add foam padding or pool noodles to the support bars of the rack. This will provide a cushioned surface for your kayak and help prevent damage.
What type of casters should I use for my rolling kayak storage rack?
Choose heavy-duty casters with brakes to ensure smooth movement and stability when the rack is stationary. Opt for swivel casters to allow for easy maneuvering in tight spaces.
Conclusion
Building a DIY rolling kayak storage rack is a rewarding project that offers both functionality and convenience for storing and transporting your kayak. With the right materials, tools, and guidance, you can create a customized storage solution that meets your specific needs and keeps your kayak safe and secure. Happy kayaking!
